Some time ago we saw that we could avoid the main problems of Windows (slow after months of use and ease of damage mainly) if used within a more robust system is Linux using Virtualbox.
That way if Windows becomes unstable could return to previous points (Virtualbox allows to make "snapshots" of a moment of the system, which can be returned in case of problems).
The only drawbacks is that we lose the 3D acceleration in the guest operating system (in this case Windows) and a little speed, but for many is an acceptable loss, especially if we have a powerful team.
However how virtualizing a Windows already installed and configured, so that we avoid the cumbersome work to install and configure everything again, keeping in addition your license?
It is not trivial, because first you have to create an image of the hard disk where you have installed, and then convert that image to a format supported by Virtualbox.
Fortunately, Virtualbox supports virtual machines created with VMware, so, although it takes some hours, is possible.
First: Make a copy of the contents of the hard drive with Symantec Norton Ghost:
 Although it is not an application of free use, and there are others that are that they perform the same task, for the time being is the only way I've found to do the conversion. In this case we will use version 9 (or later), which allows us to make copies of hard disk from Windows in any unit, both network and local.
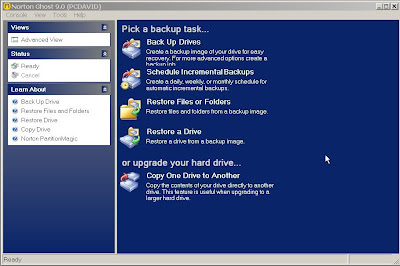 Select the option "Backup Drive", which will ask for a directory where to store the backup copy of the hard disk in format v2i, and after a while, depending on the size of the disk, it will have been created, all without having to restart the computer.
Second: Using the VMware Virtual Machine importer to import the image v2iWith this program free, can be downloaded from the VMware website (now in version 2.0), you can import physical machines of various formats.
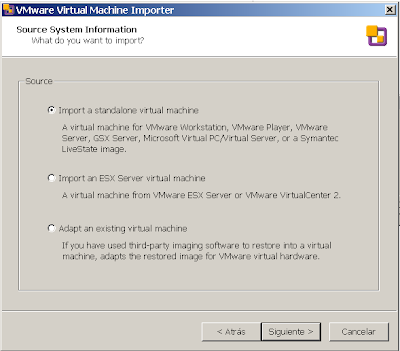 As we indicated in the image above, VMware Machine Importer accepts both Microsoft Virtual PC/Virtual Server images like Symantec (which we want) and the own VMware.
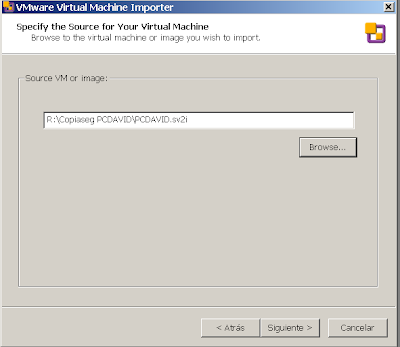
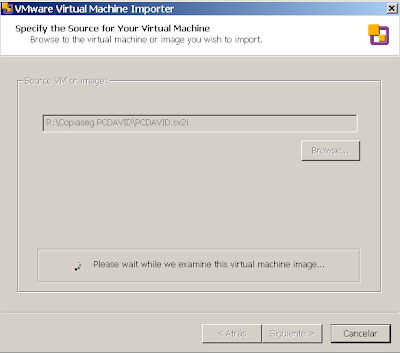 After selecting the image, you will examine it, which takes quite some time, so take it calmly and take a coffee/tea/cocoa meanwhile.
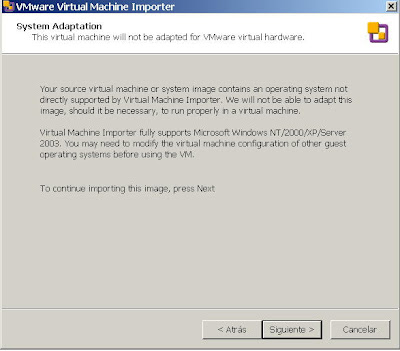 Examined once, it warns us that it is an image format not supported, so if the import fails we can complain;-). We give below, and...
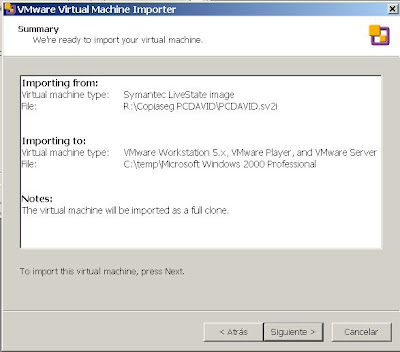 Following. This is so "Windows"...
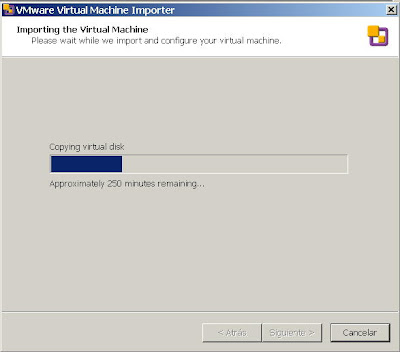 If you have enough room on your hard disk (at least as much as the size of the disk that we carry out the image at the beginning), will be to import the physical image, turning it into the VMware .vmdk format. You can already take another chocolate milk...
Third: Create new virtual machine with VirtualBox
If the conversion is successful, now we only have to create a new virtual machine in VirtualBox using HDD as an existing one:
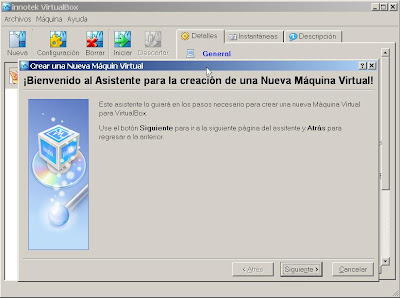
After indicating the name of the virtual machine and operating system type (with what Virtualbox will choose the most appropriate RAM for the virtualized machine size), select that you want to use an existing disk.
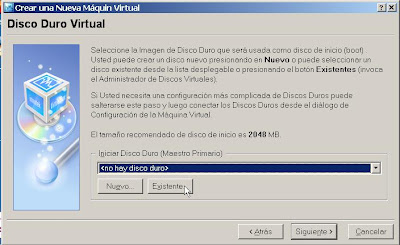
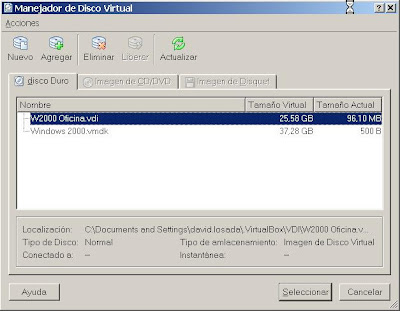
And after you add it (since it also supports VMware, a good idea's) select it, with what the system will boot with that image. But OOOPS! Windows does not support that they change radically your hardware and shows us the bluescreen of death !
No problem, we again reinstall the operating system on the virtual machine repairing it,
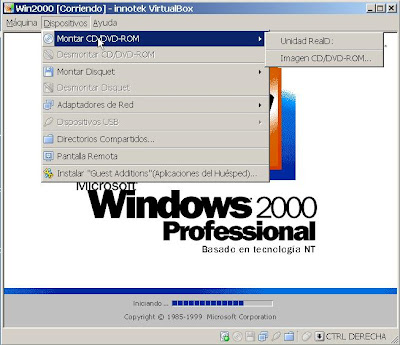
for which load a disc into the virtual drive from the host machine (more information on how fix the windows in this tutorial) and will retain the settings and programs, getting to already start.
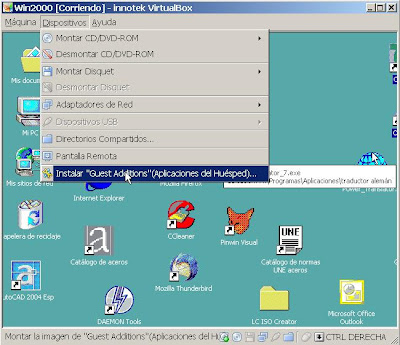
Once imported virtual machine will be the same as the original hard drive. So the image run us all soft and we can change the resolution only needs installing "host applications" that are nothing more than virtual drivers for display and other software.
And we can already use Windows as if we had it completely installed independently of the host operating system. With a few clicks you can add shared folders on the host to share information and space between the two. Don't forget to make a snapshot of the virtual machine when you have everything in place, you can return in case of problems; ideal for testing programs.
PEGAS
If we use this system without reinstalling Windows into a unit of Virtualbox, you can not change the size of the virtual drive, which will retain the size of the original disk/partition.
Also we can not create "snapshots", copies of the virtual machine in Virtualbox being a vmdk's direct writing unit, so will have to do it by directly copying the vmdk file to preserve a State specific (recommended to compress it).
Notes
Do you know that you can use two operating systems as if they were one only with VirtualBox? He is called "Seamless mode" and what does is to put full screen operating system virtualized, hiding your desktop, so will be fully integrated with the host applications.
Thanks to Virtualbox and that we can do that Windows and Linux on the same partition live as if it were a program more Windows no longer have an excuse to try Linux.
That way if Windows becomes unstable could return to previous points (Virtualbox allows to make "snapshots" of a moment of the system, which can be returned in case of problems).
The only drawbacks is that we lose the 3D acceleration in the guest operating system (in this case Windows) and a little speed, but for many is an acceptable loss, especially if we have a powerful team.
However how virtualizing a Windows already installed and configured, so that we avoid the cumbersome work to install and configure everything again, keeping in addition your license?
It is not trivial, because first you have to create an image of the hard disk where you have installed, and then convert that image to a format supported by Virtualbox.
Fortunately, Virtualbox supports virtual machines created with VMware, so, although it takes some hours, is possible.
First: Make a copy of the contents of the hard drive with Symantec Norton Ghost:
 Although it is not an application of free use, and there are others that are that they perform the same task, for the time being is the only way I've found to do the conversion. In this case we will use version 9 (or later), which allows us to make copies of hard disk from Windows in any unit, both network and local.
 Select the option "Backup Drive", which will ask for a directory where to store the backup copy of the hard disk in format v2i, and after a while, depending on the size of the disk, it will have been created, all without having to restart the computer.
Second: Using the VMware Virtual Machine importer to import the image v2iWith this program free, can be downloaded from the VMware website (now in version 2.0), you can import physical machines of various formats.
 As we indicated in the image above, VMware Machine Importer accepts both Microsoft Virtual PC/Virtual Server images like Symantec (which we want) and the own VMware.
 After selecting the image, you will examine it, which takes quite some time, so take it calmly and take a coffee/tea/cocoa meanwhile.
 Examined once, it warns us that it is an image format not supported, so if the import fails we can complain;-). We give below, and...
 Following. This is so "Windows"...
 If you have enough room on your hard disk (at least as much as the size of the disk that we carry out the image at the beginning), will be to import the physical image, turning it into the VMware .vmdk format. You can already take another chocolate milk...
Third: Create new virtual machine with VirtualBox
If the conversion is successful, now we only have to create a new virtual machine in VirtualBox using HDD as an existing one:

After indicating the name of the virtual machine and operating system type (with what Virtualbox will choose the most appropriate RAM for the virtualized machine size), select that you want to use an existing disk.


And after you add it (since it also supports VMware, a good idea's) select it, with what the system will boot with that image. But OOOPS! Windows does not support that they change radically your hardware and shows us the bluescreen of death !
No problem, we again reinstall the operating system on the virtual machine repairing it,

for which load a disc into the virtual drive from the host machine (more information on how fix the windows in this tutorial) and will retain the settings and programs, getting to already start.

Once imported virtual machine will be the same as the original hard drive. So the image run us all soft and we can change the resolution only needs installing "host applications" that are nothing more than virtual drivers for display and other software.
And we can already use Windows as if we had it completely installed independently of the host operating system. With a few clicks you can add shared folders on the host to share information and space between the two. Don't forget to make a snapshot of the virtual machine when you have everything in place, you can return in case of problems; ideal for testing programs.
PEGAS
If we use this system without reinstalling Windows into a unit of Virtualbox, you can not change the size of the virtual drive, which will retain the size of the original disk/partition.
Also we can not create "snapshots", copies of the virtual machine in Virtualbox being a vmdk's direct writing unit, so will have to do it by directly copying the vmdk file to preserve a State specific (recommended to compress it).
Notes
Do you know that you can use two operating systems as if they were one only with VirtualBox? He is called "Seamless mode" and what does is to put full screen operating system virtualized, hiding your desktop, so will be fully integrated with the host applications.
Thanks to Virtualbox and that we can do that Windows and Linux on the same partition live as if it were a program more Windows no longer have an excuse to try Linux.
Update : There is another more reliable way of making the conversion, thanks to an anonymous comment:
-Used two computers in network.
-We create a new virtual system with dynamic hard drive on Virtualbox on your computer the image destination.
-Host (with the hard disk that you want to clone) both in the destination virtualised VirtualBox disk, we start a CD with a program of cloning that works over network; for example the Trueimage.
-Backup selected by network in the source computer and destination to recover that image on the fly to the created virtual hard disk.
It takes 25 minutes for 5 GB of data with connection 100 Mbit of IDE hard disks and network, if they are SATA it will take less. In this way we maintain Virtualbox hard disk format, which all are advantages. The only downside is that it may not start Windows given suffered hardware change, but it usually works with the latest versions of Windows.